Steps to Create Customer
Setup: Financials
Revenue Management: Create Customer
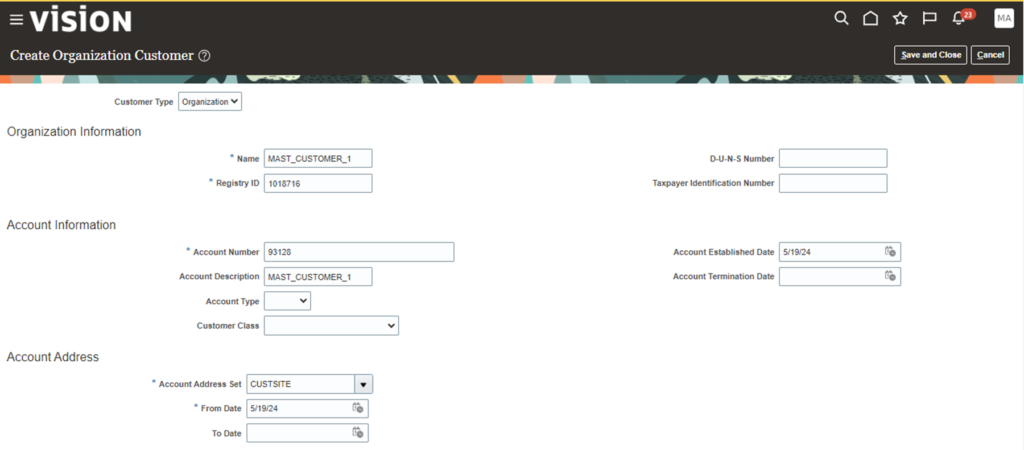
After click on create customer and then fill up required fields such as customer type, name, account address set, account established date
On the Address section, fill up the fields such as Site Name and the appropriate Address.
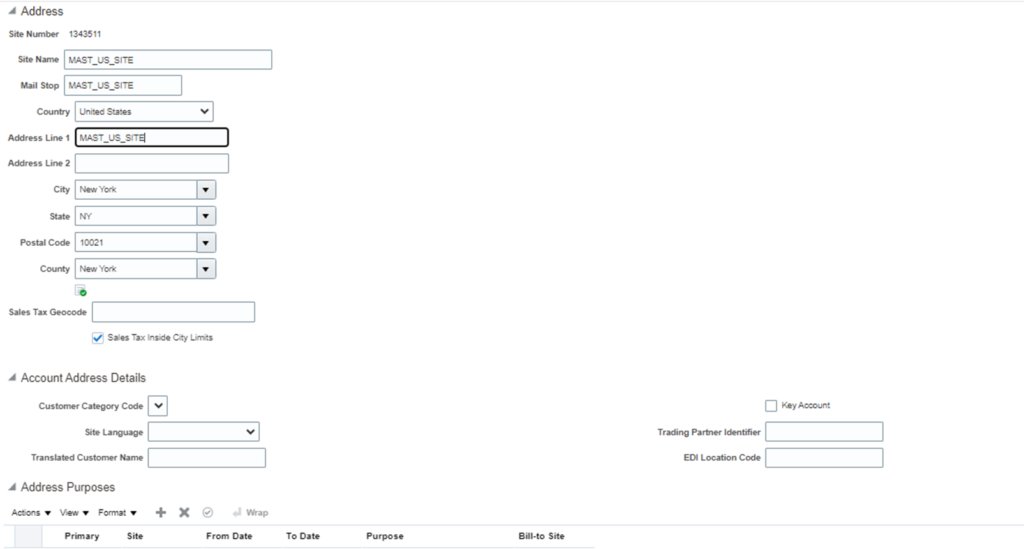
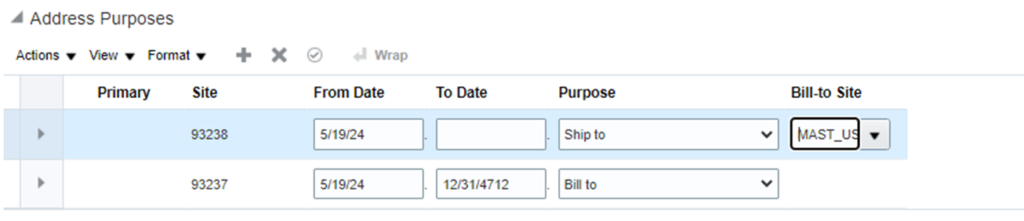
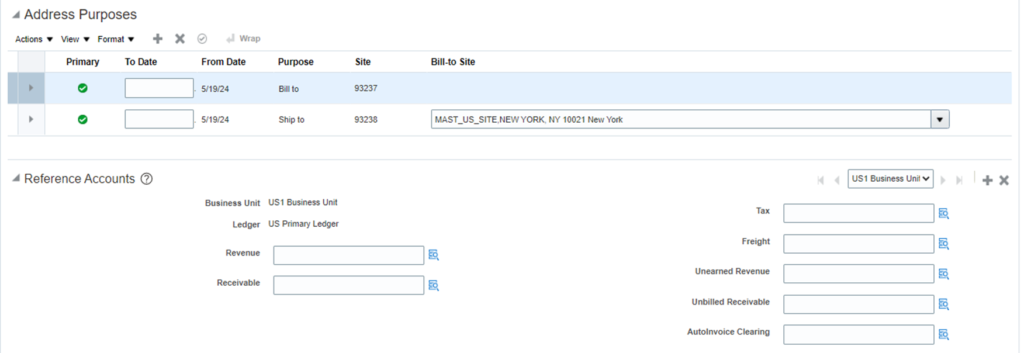
On the Address Purpose section, make sure to add the “Bill To” and “Ship To” purpose as these are the two most important purpose of a Customer Site.
Click on “Save and Close” to save your work
Setup: Financials
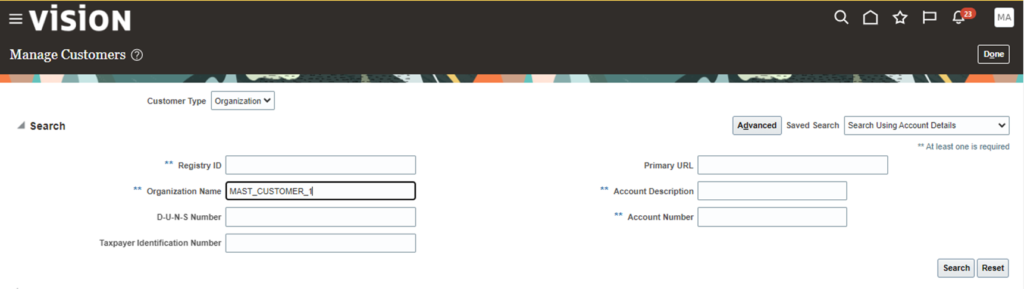
Revenue Management: Manage Customers
Search with organization name –>MAST_CUSTOMER_1
Continue….
And then click on Site Number (1343511) (This is my site number, your site number will be different)
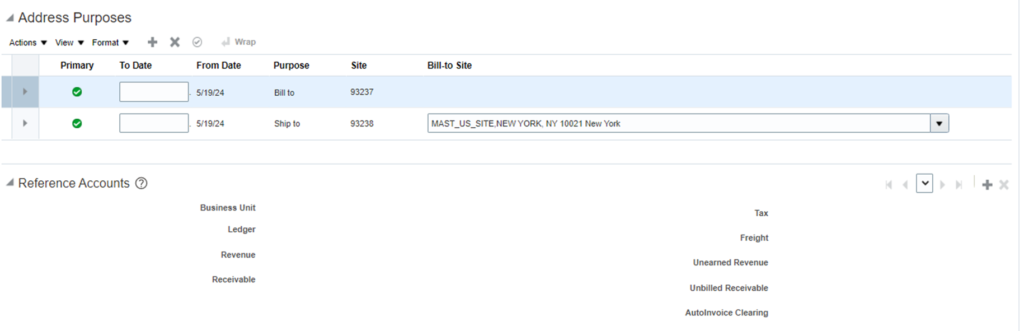
After click on site number and then go to Extreme downward on the same page
And then click on + symbol ( Extreme right Downward)
Continue……
And then click on + symbol
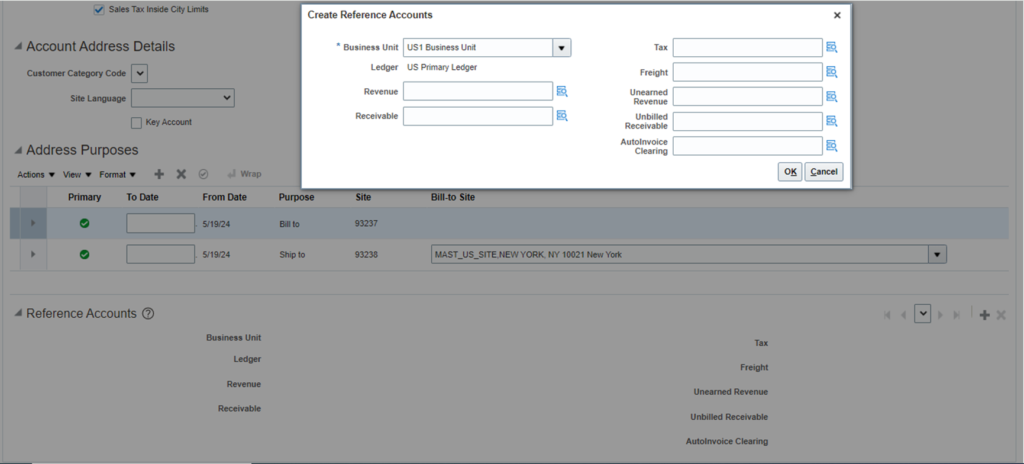
Continue…
And then click on OK button
And then click on Save –> Save and close –> Done
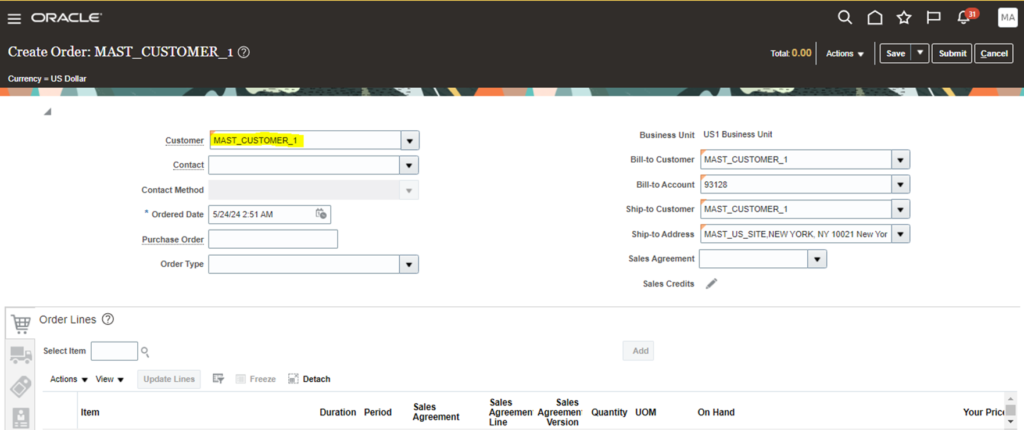
Result of Create Customer (Order Management )
Customer –> MAST_CUSTOMER_1
How to Load Customers in Spreadsheet
Navigate to Receivable> Billing
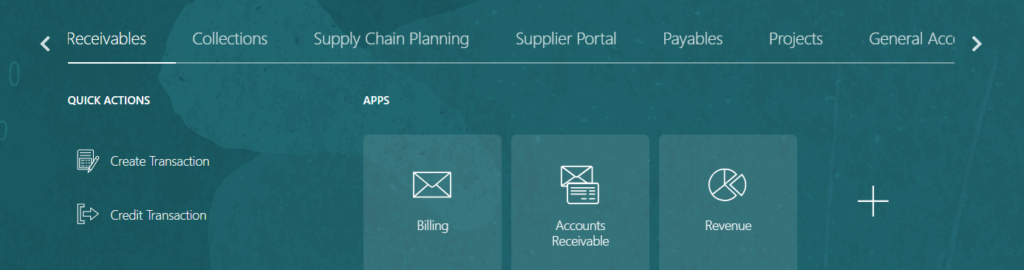
In Billing Dashboard navigate to Task Panel.
Select Upload customer with Spreadsheet
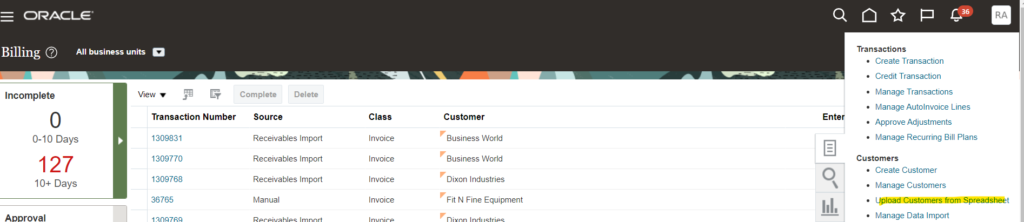
download the Customer spredsheet template

Open the Spreadsheet template and prepare the data for the customer
How to Upload customer through FBDI template
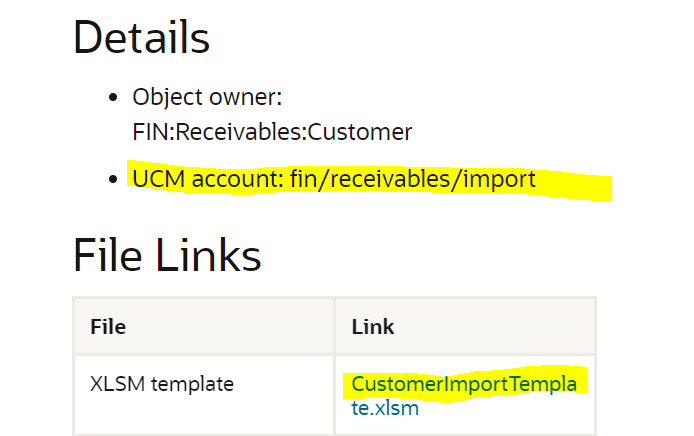
Download the FBDI template from Oracle Portal
Please click this link to get the FBDI template for customer upload
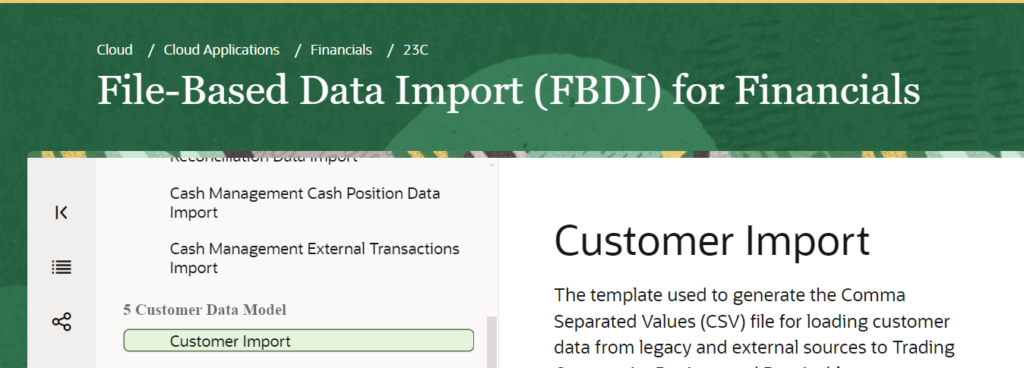
Download the FBDI template
Prepare the data for customer template and convert to CSV file
Upload the data to UCM directory -staging table in Oracle Fusion
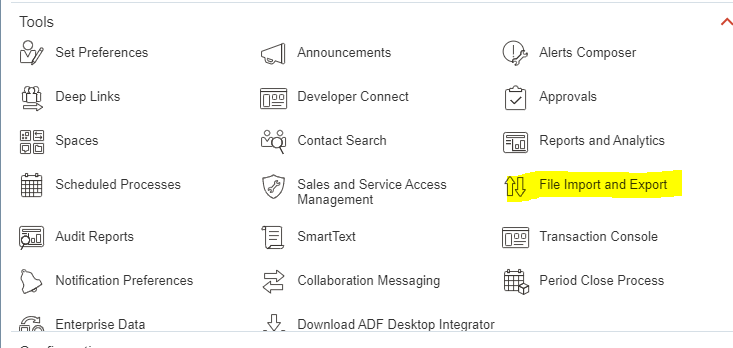
Navigate to Tools>File Import Export
Select the UCM directory as Fin>Receivables>Import
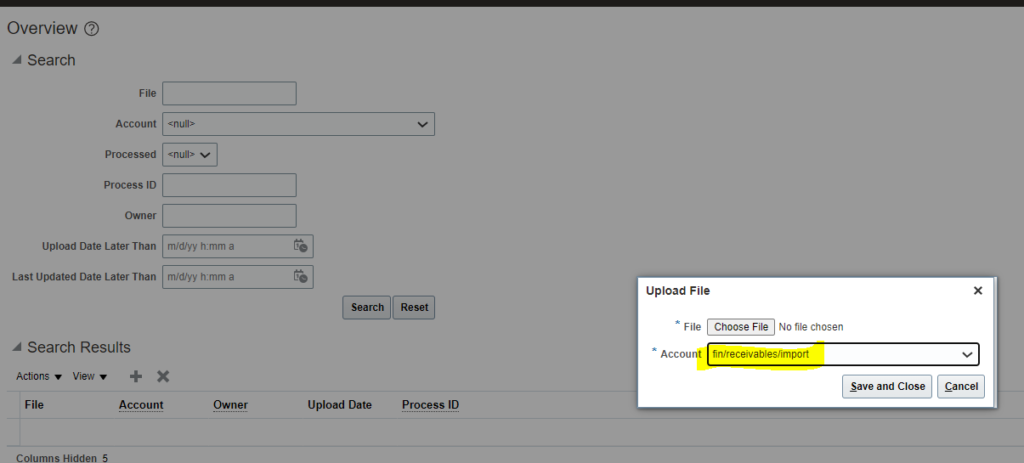
Stage the Customer upload CSV file to this directory
Then run the Load Interface file for Import -Interface program to move the data to Interface
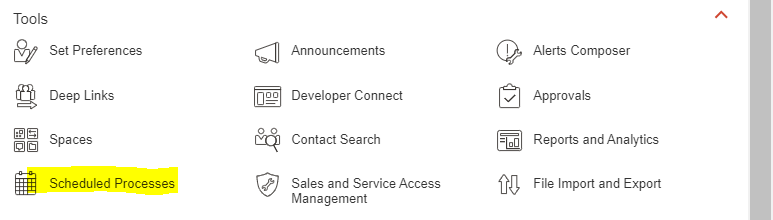
Navigate to Tools> Schedule Process
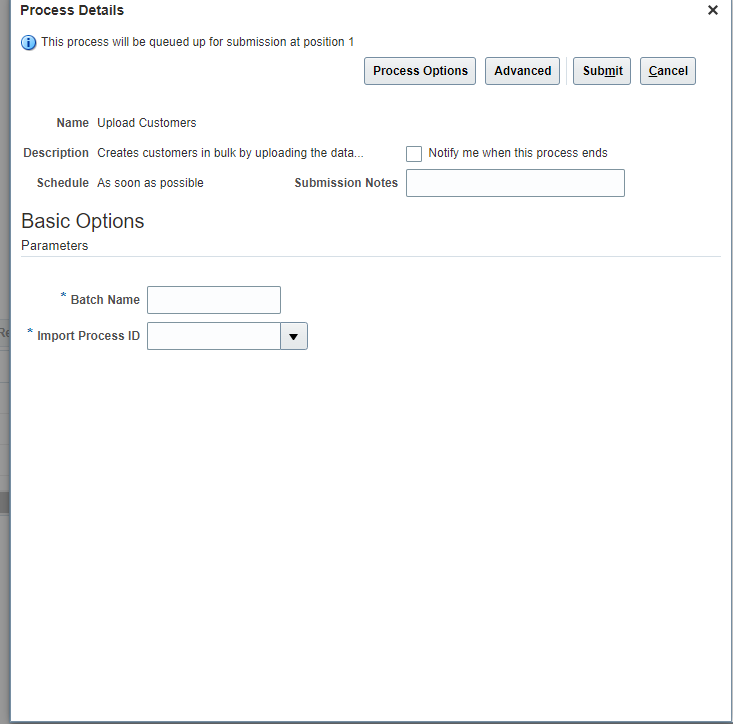
Select the Import process as- Upload Customer

Once the data uploaded to Interface successfully run the Base program -Upload customer
Provide a Batch name and select the Import Process id